
EVF or Field monitor? – DSLR video
Why do you need a field monitor?
Maybe you don’t! Some people swear by an EVF; usually a cameraman who, after years of staring into an eye-cup, has attuned to seeing and interpreting the world of light, colour, and composition through this medium.
For many, the addition of an LCD viewfinder like the TARION VR-V1 is all that is needed to improve on the LCD or viewfinder on the camera and give a comfortable EVF image from the camera’s LCD screen. It has various design, construction and material technologies to give a sharp, clear, fog-free, image that is 2.5 times enlarged; essential in bright light and get the most out of the visual scene.
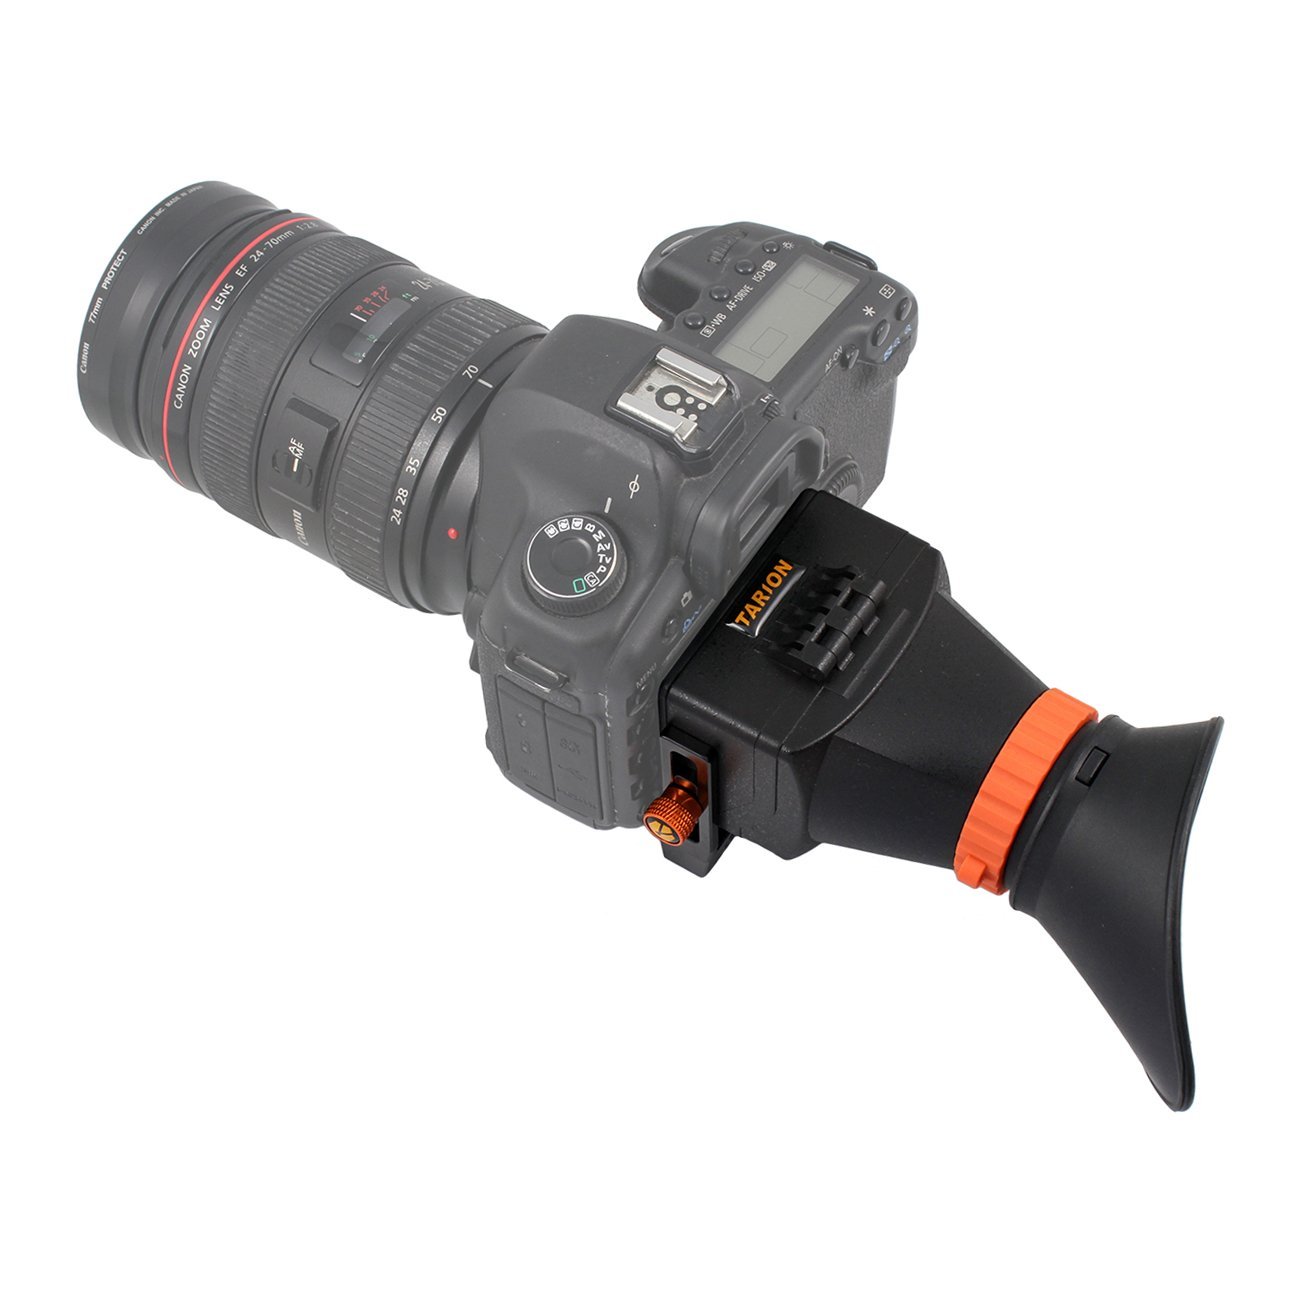
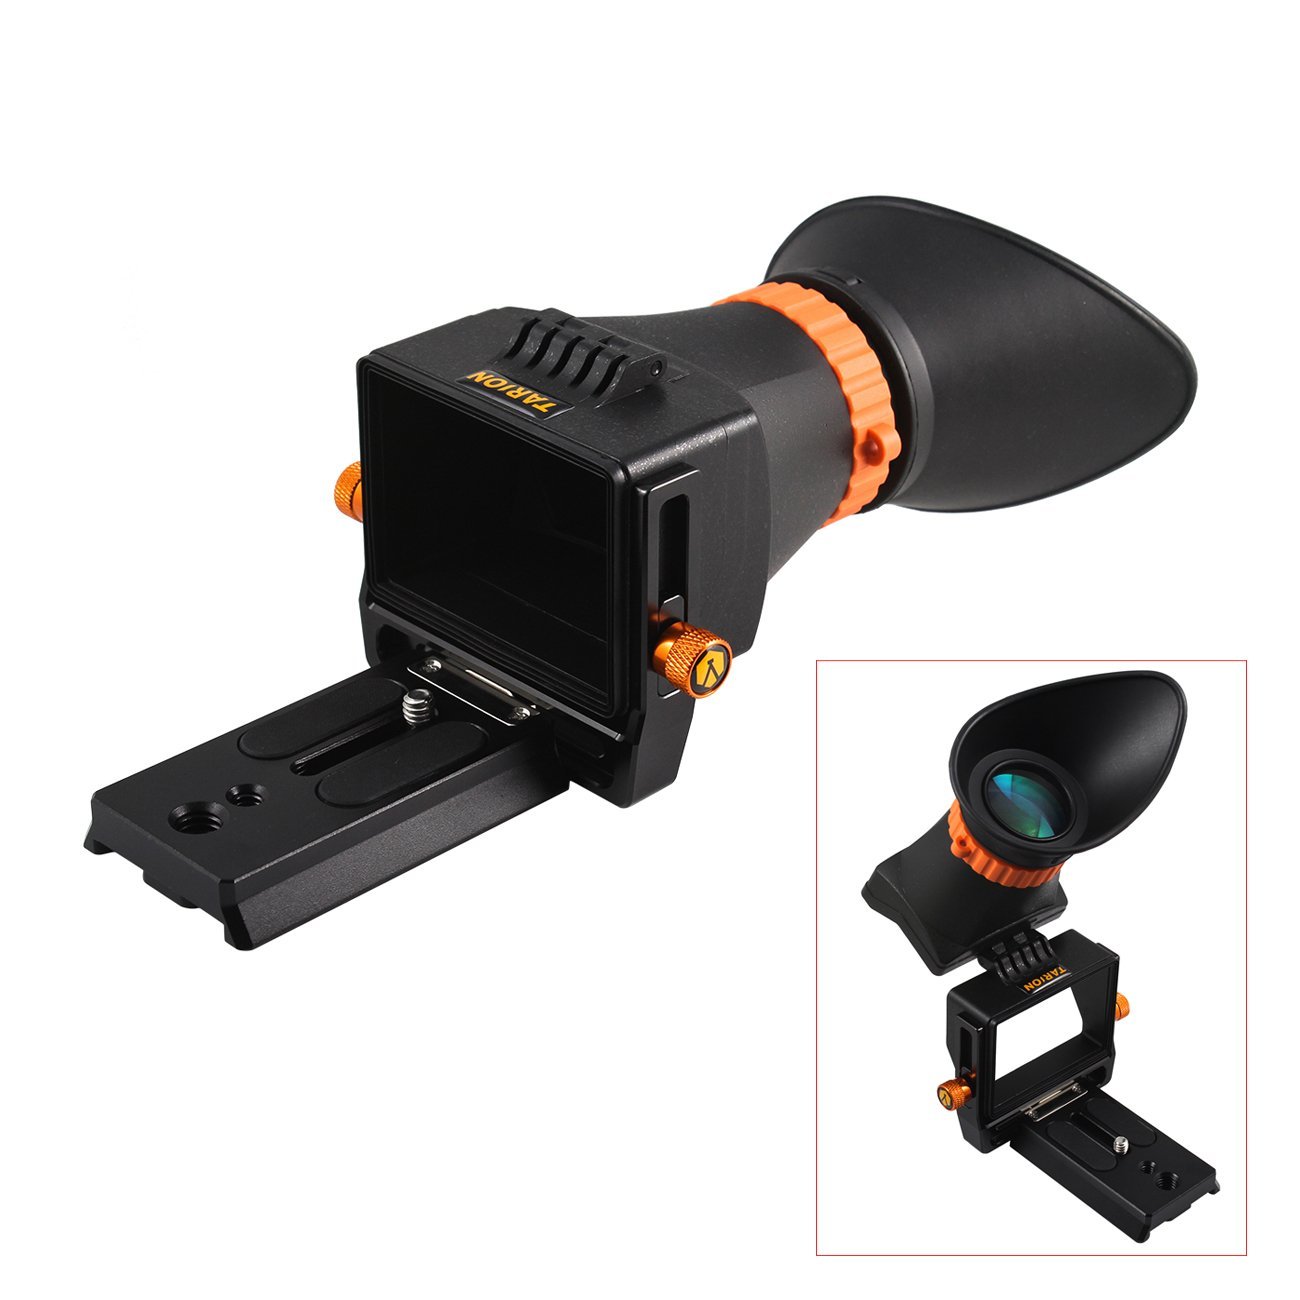
In fact, for many people, this viewfinder is an amazing addition to their kit and fast becomes an essential tool before progressing to a field monitor. Don’t take my word for it*: See online reviews from people who love it.
So, why a field monitor?
A. Focus: DSLR monitors are very helpful for focusing : the ability to pull accurate focus is one of the main reasons to buy a monitor in the first place.
B. Composition and framing: The monitor helps you see the details of your framed shot. (Bigger is usually better, but see weight/bulk can be a problem.)
C. Articulated screen: We’ve all been on location and rarely do we have the room we need, or the luxury of full control of the environment. When shooting high-perspective shots, or using jibs, sliders and stabilisers, it can be difficult or even impossible to see the camera’s screen and an external monitor that can be moved around becomes essential.
D. More people can view: With a monitor the director and others can see the frame/shot. Depending on the shoot and how involved your clients want to be, a second monitor on a stand so they can see what’s going on can really enhance their experience.
E. On a more abstract but nevertheless important note, a monitor can make you look more professional to your clients.
So which monitor?
Well, before deciding on price, it’s good to look at features to be sure you’re not paying for things you don’t need, or not getting what you do need: now or in the future.
1. Size/weight: Larger is generally better to help with focus and compositional elements. However, any larger than 5” or 7” will be a burden when you’re carrying it all day, and may cause problems with balance/handling for fast moving shots. Note: Metal housing can be lighter than cheap plastic, and more durable!
2. Cost: You can pay between US$ $300-$2000 for a DSLR monitor. It’s not true that more expensive is always better, but lot of the cheaper products use quality control (QC) failed components from China’s manufacture and supply chain. Less than perfect products are rejected by the customer of the factory, but not destroyed; they are sold on to factories that often assemble such parts into low-grade copies. Common sense says if it’s too cheap something has to give.
4. Resolution: HDMI outputs from many DSLRs don’t actually output HD footage. A monitor with a good resolution will be essential for the sharpest focus and detail possible. DPI (Dots Per Inch) is more important to still photographers than videographers. Many monitors allow a 1:1 preview of part of the frame, which is useful.
(Even if your camera records 4K, it probably down-scales to 1920×1080 or even less. The 1280×800 offered by many 7” monitors is a huge step up from the camera’s LCD and more than enough for most uses; certainly for those looking for a quality monitor on a budget.)
5. Connectors: Most DSLRs output HDMI, and some high-end output SDI. HDMI degrades after a few metres, but SDI with quality cable has a range of 100 metres! So, if your camera has HDMI output and you want your monitor off-camera for any distance, get one with SDI crossover.
6. Other Features: Some monitors also have features like focus peaking, false colour filters, zebra exposure functions, LUTs, and more that are beyond the scope of this article and you’d need to investigate what must-have features you need.
7. Loop through: This can be useful to output to another device; monitor or recording.
8. Touch screen: Whilst this may seem like a nice option, the reality of on-set work is such that gloves may be worn, fingers and hands not so clean, so there are benefits to buttons on the front panel; there’s no practical benefit in touch screen for most situations.
9. Viewing angle: You need a good viewing angle that retains the quality and perception of colours at varying degrees. A narrow viewing angle often leads to the image on the monitor appearing to shift in color/contrast. A wide viewing angle allows the operator to have a clear image if they shift positions. IPS panels offer one of the best viewing angles and colour reproduction vs older and cheaper TFT panels: typically IPS viewing angles are 178 degrees.
10. Contrast ratios and brightness: Brightness and contrast are two of the most important factors in perceived image quality. A typical office monitor will have a brightness of about 200 nits (cd/m2) and is considered to be an ideal point for peak output for those types and use. Monitors with high contrast ratios and brightness tend to display a more pleasing image. In a dark room 120 cd/m2 calibration is sufficient.
For a field monitor, likely to be used outdoors or with studio lights, a higher cd/m2 is useful, and 400 cd/m2 certainly bright enough. However, even high-contrast/brightness monitors may benefit from using a sun hood of some kind. For a field monitor, 800:1 is more than satisfactory, and not far off from many UHD computer monitors.
Which monitor is best for you?
That depends on your budget and needs.
I recently saw the TARION M7/S 7″ Full HD LED metal-cased Field Monitor on set*. Having seen the monitor in action, it certainly looked the part and was a vast improvement on the camera LCD. There are two models, the TARION M7/O/P 7″ Full HD LED Monitor is the same as the “S”, but without the SDI options.

For sure, watching people make a video, and being a photographer and actor, has piqued my interest in video making and the Non SDI version is perfect for my needs. The unit was very well constructed, professional looking, and a joy to look at, and not just because of it’s technical abilities. They were a great crew and had professional sound with boom mic and separate digital sound recorders with XLR inputs, full sized dolly, and various jibs and stabilisers etc., and the skills to use them. The TARION monitor helped make the set look more impressive, and to see the crew using the focus peaking and other visual aids, as well as make decisions on lighting and composition whilst jointly looking at the display sold me on the monitor over an EVF or on-camera LCD. If I get the right time, motivation, and project, I’ll buy one and let you know how I get on. I couldn’t imagine filming without one now.
You don’t have to take my word for it, you can see reviews online. TARION appear to be achieving their goal of being recognised as the best value for money solution for photographic and video gear.
*(Disclosure: I currently work as a part-time consultant for TARION and have been impressed with their commitment to quality control and their love of all things photographic. One example was a beautiful looking slider with carbon fibre rails, ‘gold’ anodised aluminium plate and detail, and large locking legs. They rejected it as the carbon fiber tolerance couldn’t be guaranteed by the factory, and the locking and adjusting mechanism was a little cumbersome. They felt that, although it looked sexy and expensive, it added nothing of value to the customer and was thus rejected. I have no direct financial incentive to promote their products and earn no money from these links. I do, however, have a genuine interest in photography and video, and am naturally curious and interested in playing with any of their products as I come across them during my consultancy work.)